Home Office Makeover Week Two – PAINTED SUBFLOOR – ORC
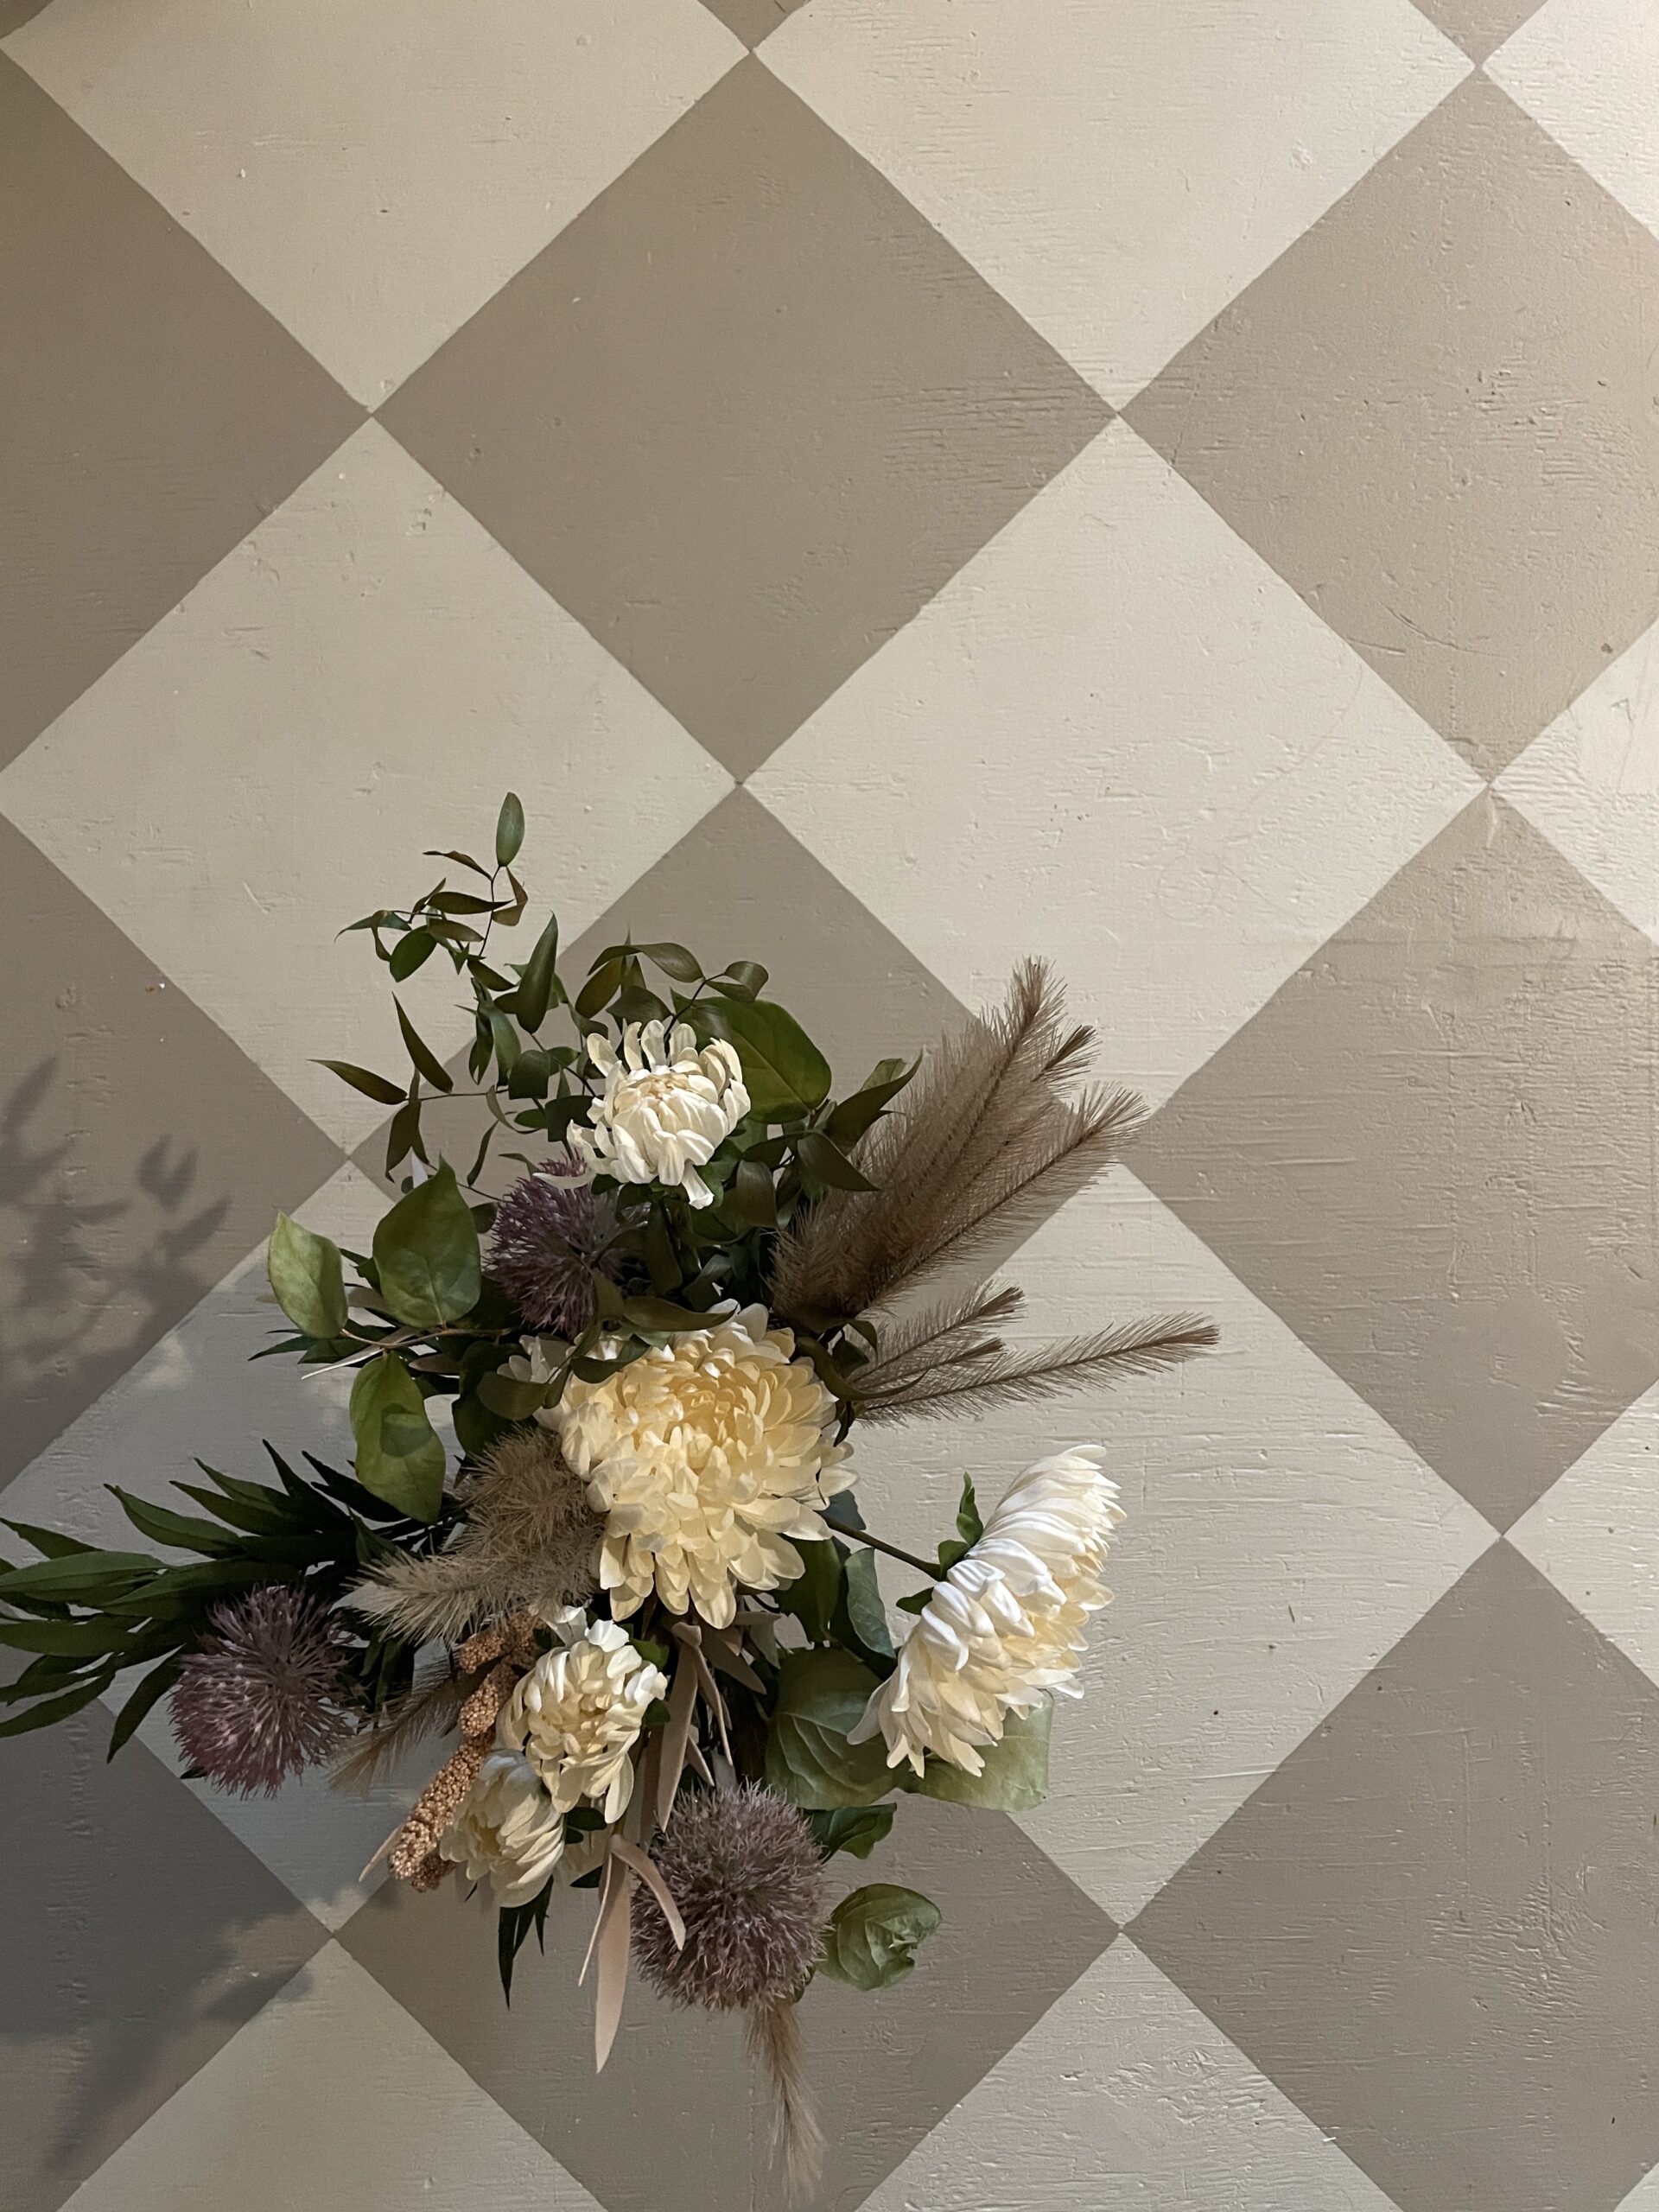
Call me crazy, but this painted subfloor turned out better than anything I could have ever imagined and this “temporary solution” may just stand the test of time!!
If you were here for my FIRST EVER! blog post last week, you will know that (in my “free time”) I am busy turning this:
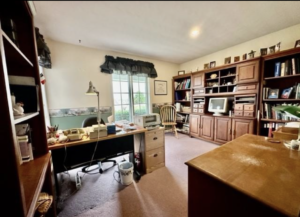
INTO THIS:
(apologies for the blurry photo, I had little to no disregard for before pictures.)
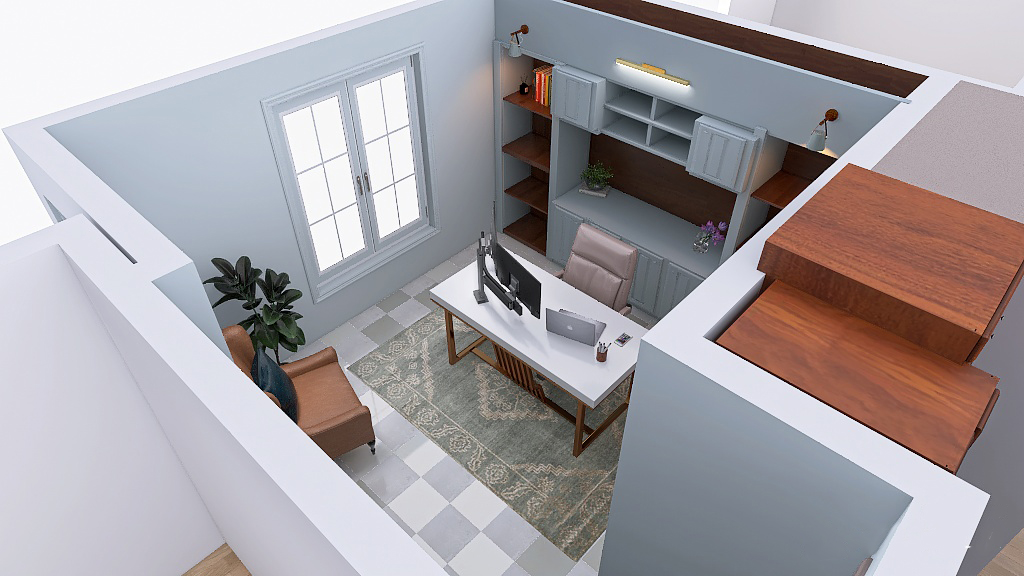
That’s right – I turned my plan of attack into a space render so we call all see the full picture and know the direction that we are headed. This is a service that I provide to the majority of my design clients so I thought why not implement it here as well!
So, WHY painted floor and not a full install for this space?
1. Long Term Plans
We just moved here and plan on being here a while, like forever. We eventually plan to renovate the rest of the main floor meaning that the rooms next door will have to match, or, at least flow, and I wasn’t ready for the long-term commitment.
2. This room is weird.
The subfloor doesn’t seem to line up height wise to the room next to it AT ALL. I am guessing that because it was carpet, the original owners planned additional space for the plushness that came with an ultra cushy underlay and the dense mauve pile. Because we do plan on updating the rest of the flooring in the not-so-distant future, I don’t want to mess with the height variation until I know exactly what the game plan is for that. Without proper planning I would be left with an eyesore at best and a tripping hazard at worst.
3. The budget, baby
We JUST moved in and have a gajillion plans for this place. My office is definitely my top priority, but I would rather put funds into the common areas and entertaining spaces if at all possible.
4. The carpet just had to go.
When I looked at the alternate “temporary” options, I decided this would be the fastest way to give me the best look, and I wanted the carpet gone yesterday.
And just HOW did the magic happen?!
There are fully hundreds of “how to” blogs across the internet outlining how to do this, but the ones that I looked at involved tracing a square object and extending the lines out. For me, this resulted in some goofy angles and having to erase half of the floor so I am giving you the incredibly easy and in my opinion more sophisticated “math version”.
Yes, you did read “easy” and “math” in the same sentence. I promise, it is not a trap!
Step One – Remove the Top Layer
You know I was keen as a jumping bean to rip up that carpet but you want to make sure you have the right tools for the job.
Regardless of the material you are removing, you are definitely going to want a pair of needle nose plyers on hand to get this job done.
If it’s a carpet like mine, you will also need a hammer and a pry bar of some sort for the trim and for the nail strips that you will find around the outside of the room.
Once your flooring is removed go over every square inch of the space with a vacuum and the pliers to pull up any of the remaining nails/staples. In my case there were hundreds.
Step Two – Prime, Patch & Paint
This is a SUBFLOOR. Drywallers slopped, painters drooled, installers stapled. No one cared about it until this moment.
It’s going to need a little (and if you are a perfectionist like I am) potentially a lot of prep to make it shine.
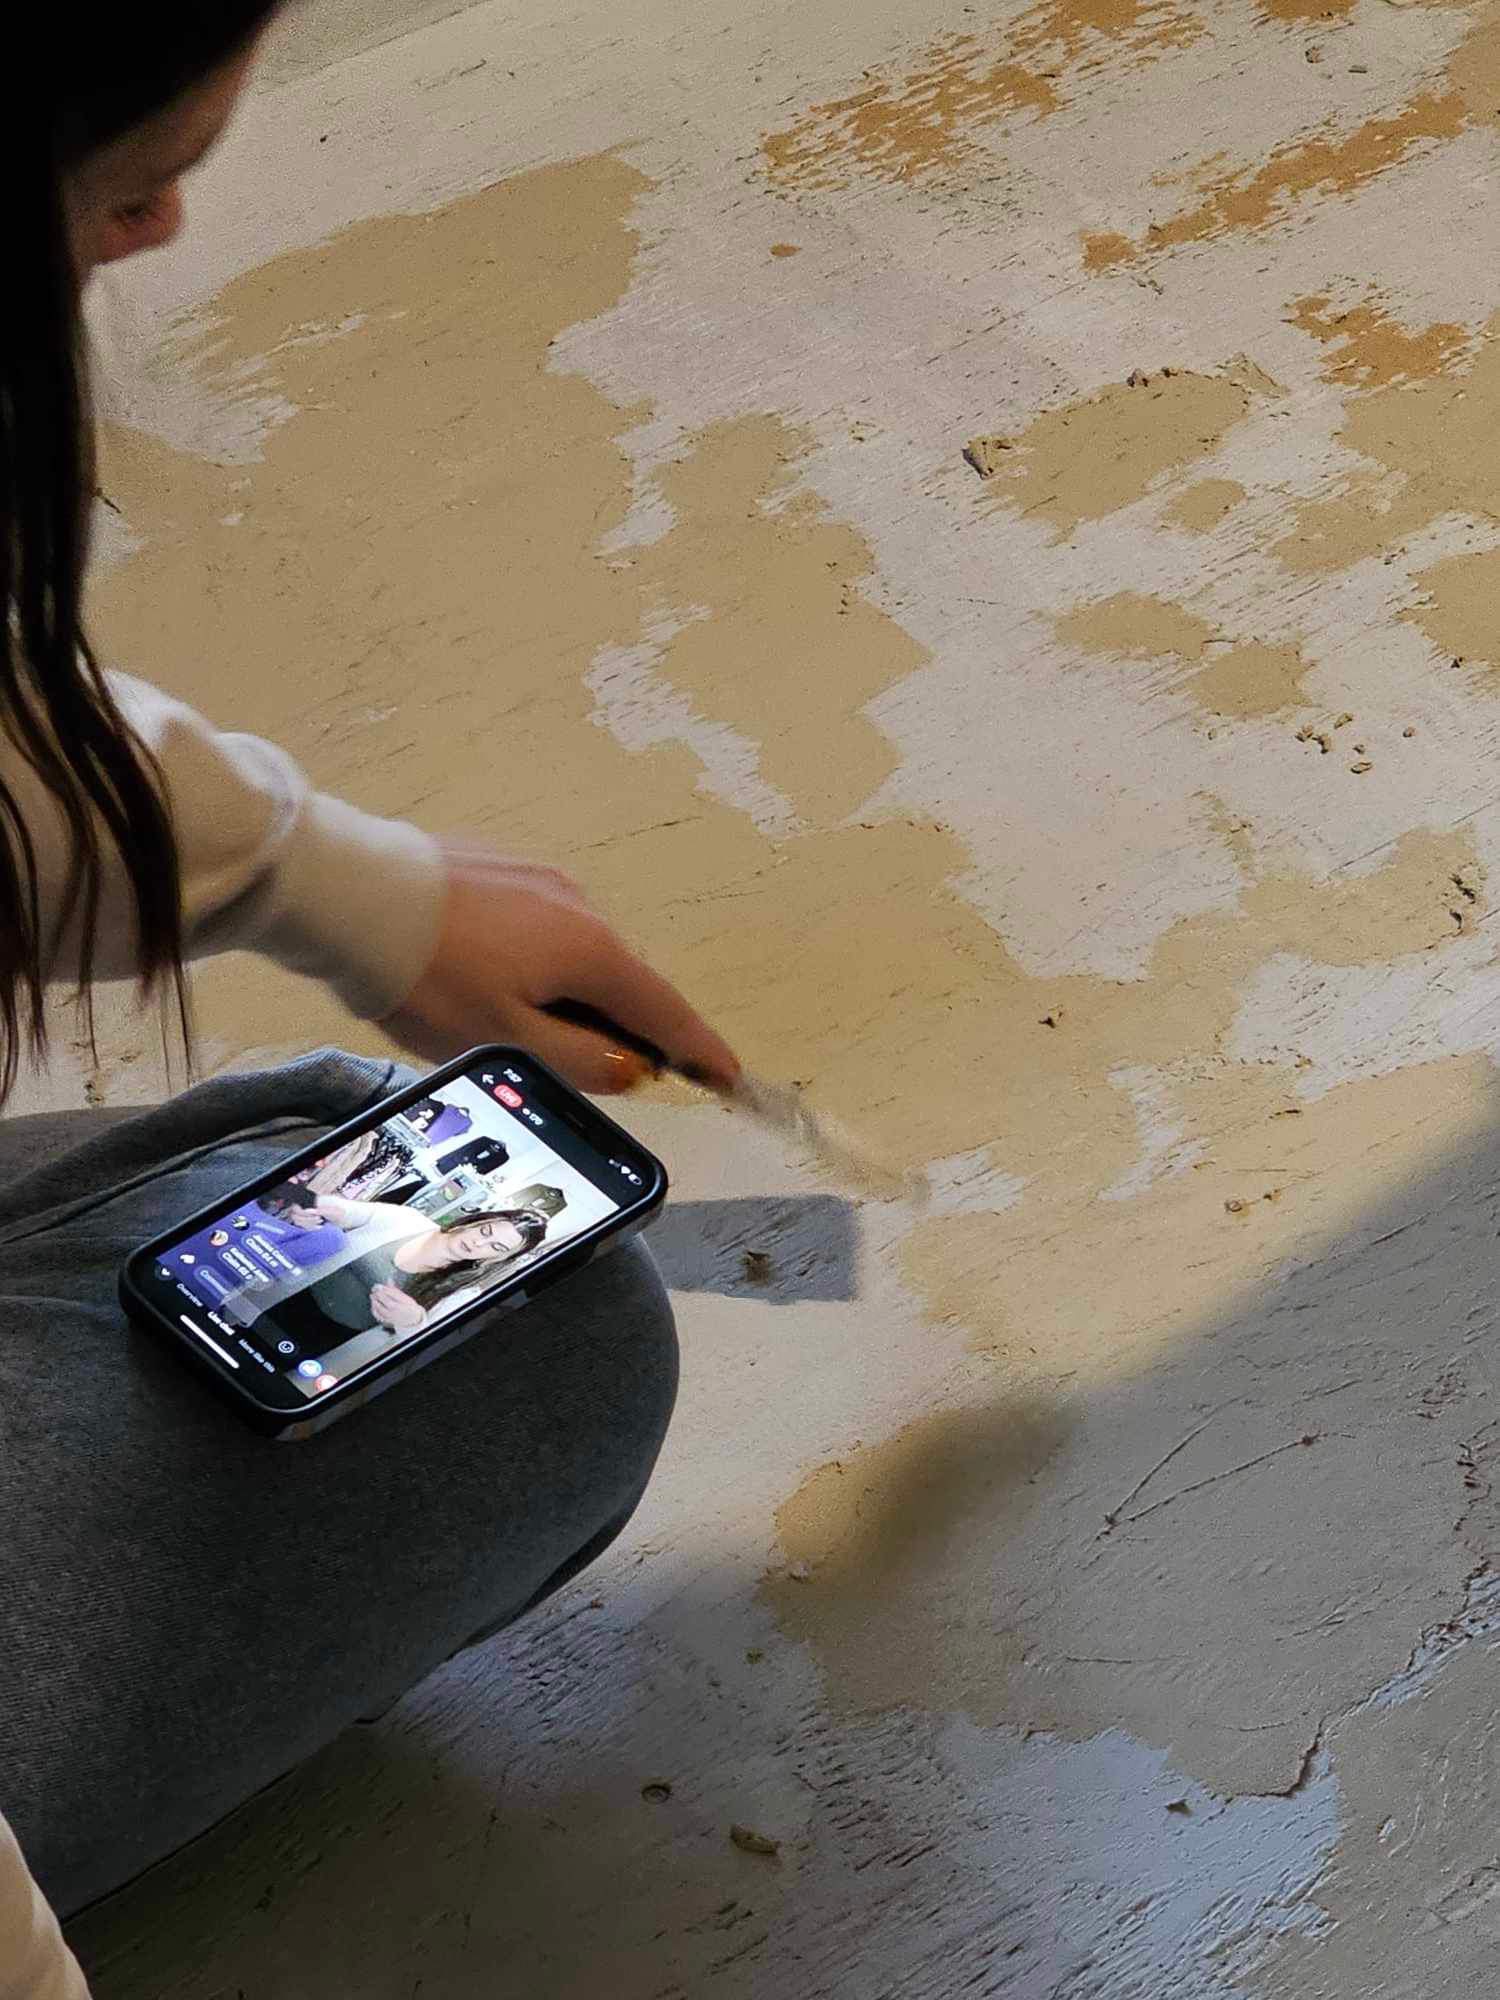
Start by scraping off the chunks of drywall mud and then use a wood filler (I recommend buying the biggest tub money can buy) and a small paddle to fill in all of the cracks, wood knots, and imperfections.
I ended up filling the floor, doing a coat of primer, and then doing a second round of wood filler to ensure that nothing was left untouched.
Make sure you sand and vacuum after each round so it comes out nice and smooth.
After everything is primed and ready, you are going to want to go in with the lighter of the two colours that you plan on using and do two coats of paint across the whole floor.
Step Three – Draw it out
This is where I feel my method reigns supreme.
Rather than trace an object which did not give me a perfect angle or line, I am going to recommend the following:
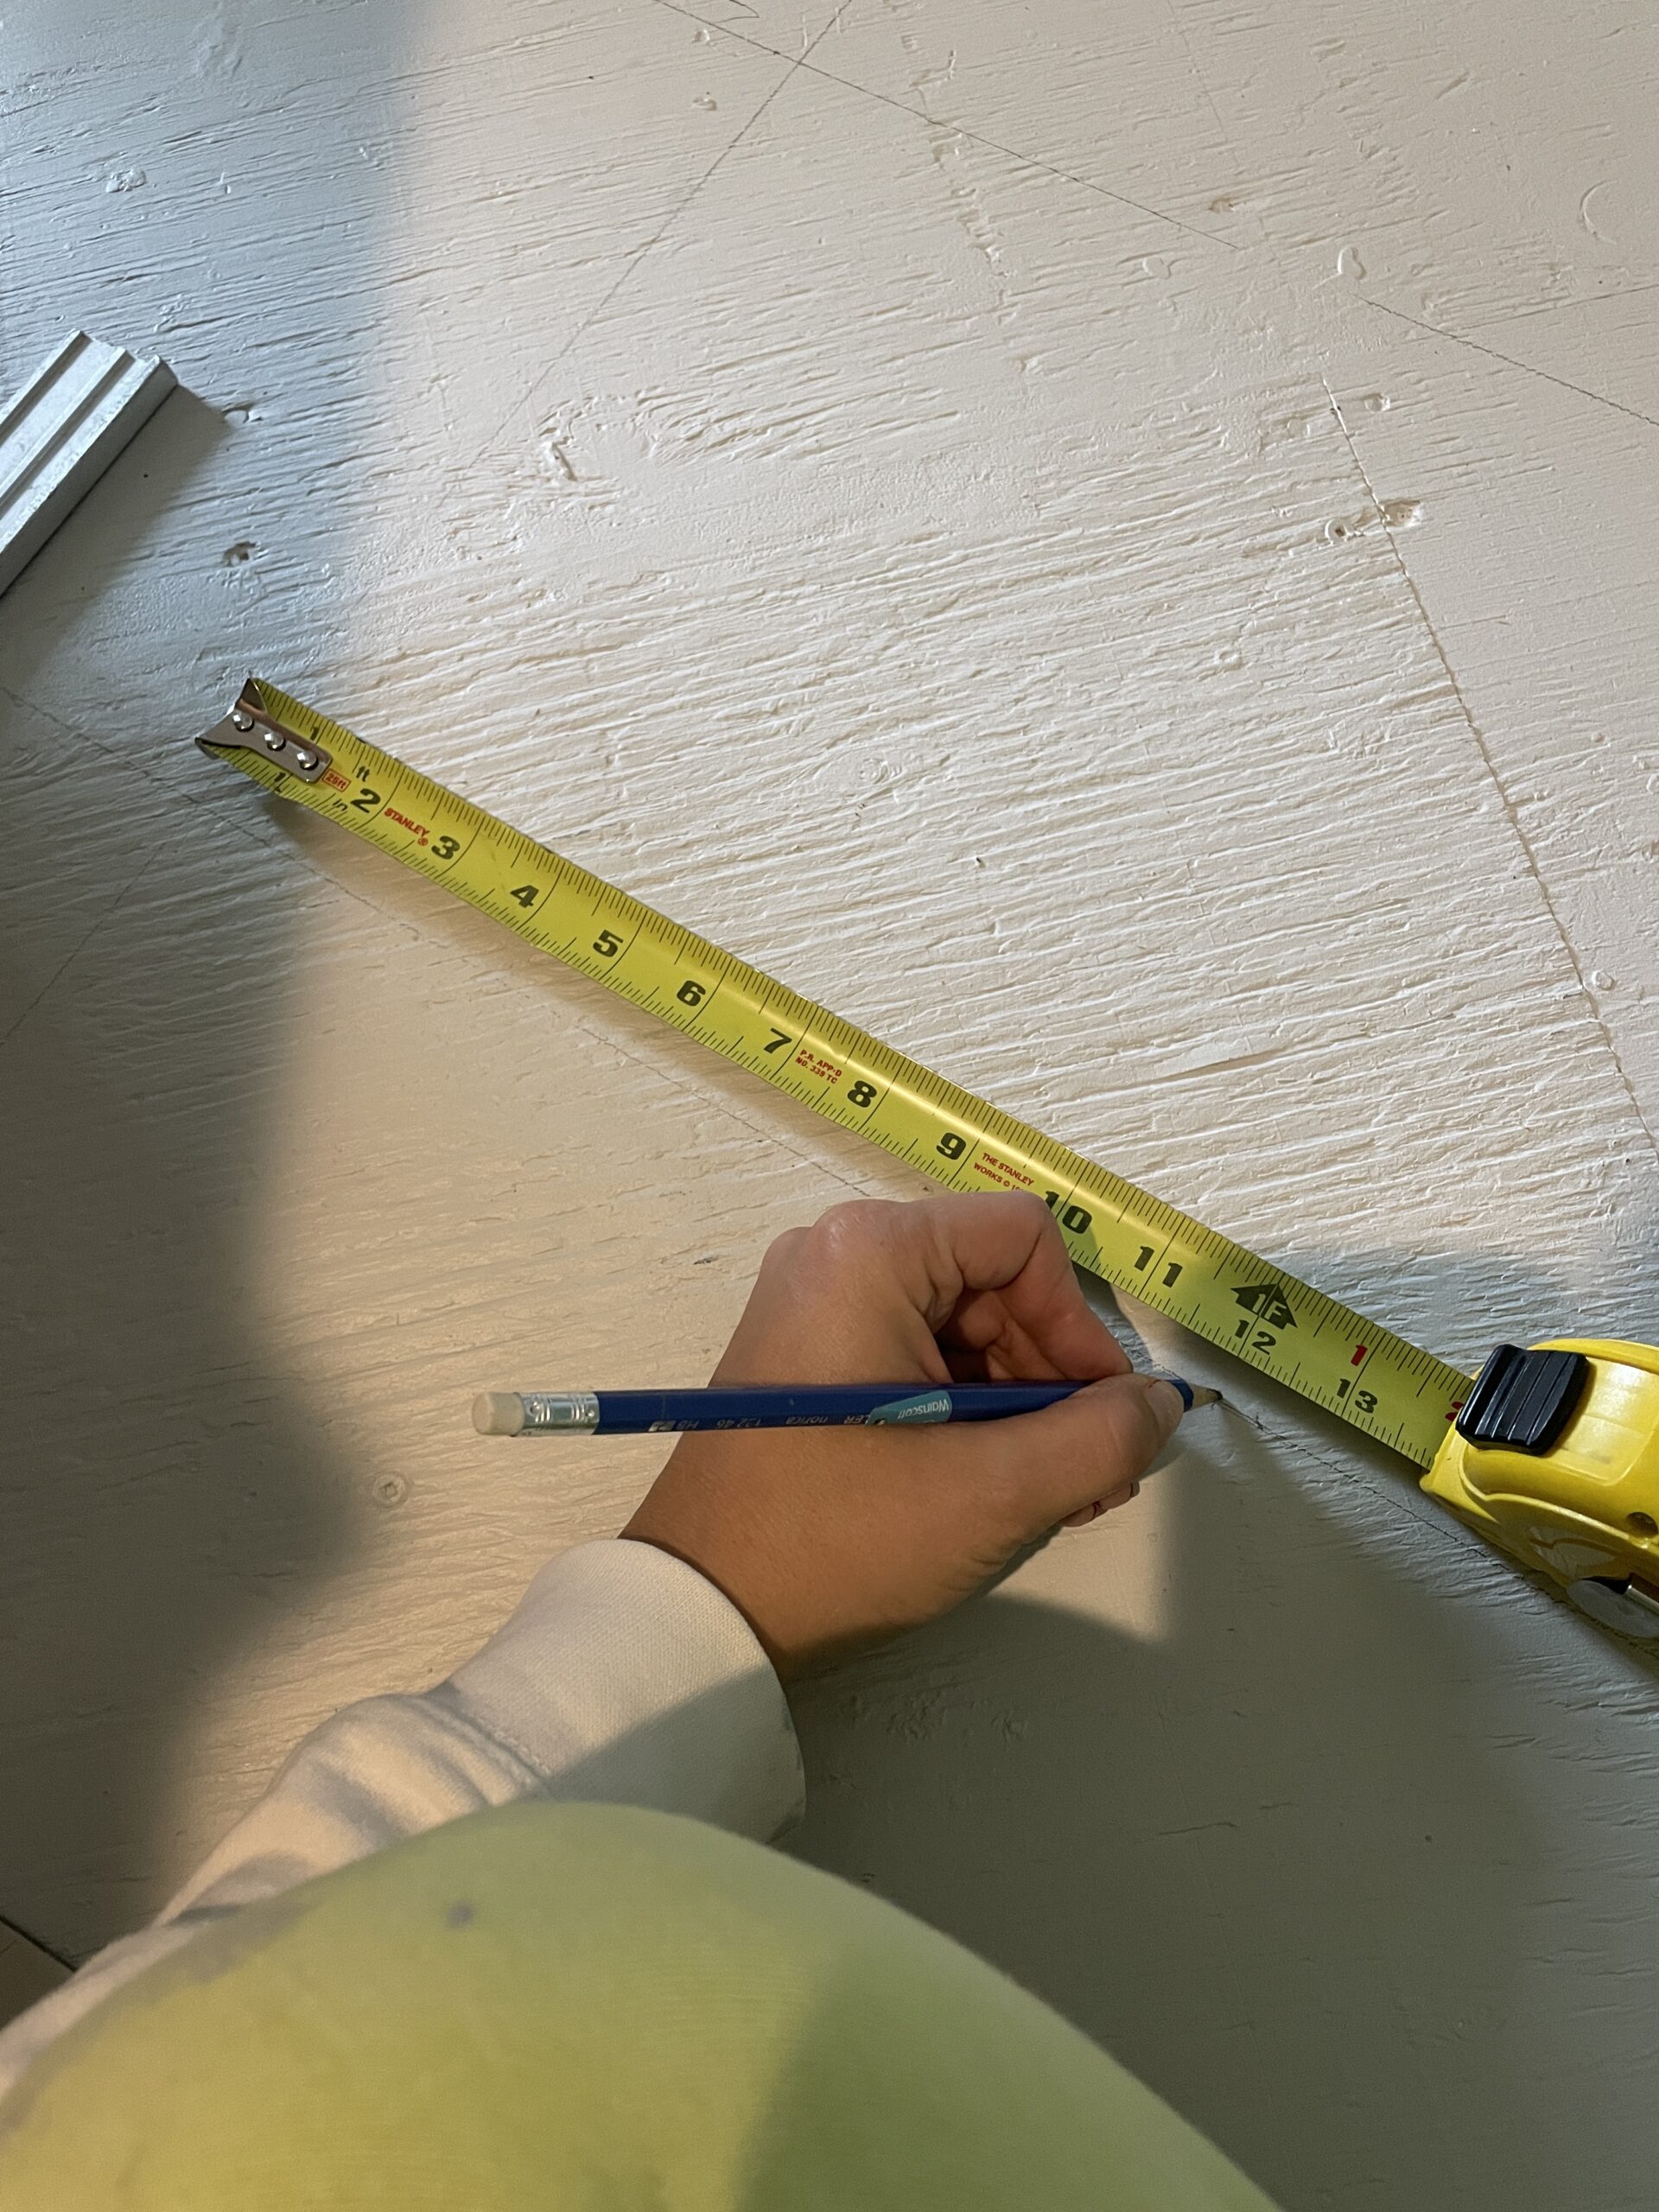
A) Start by measuring out and marking the dead centre of your door. For me this was super important because it provides the maximum effect from the first point of contact.
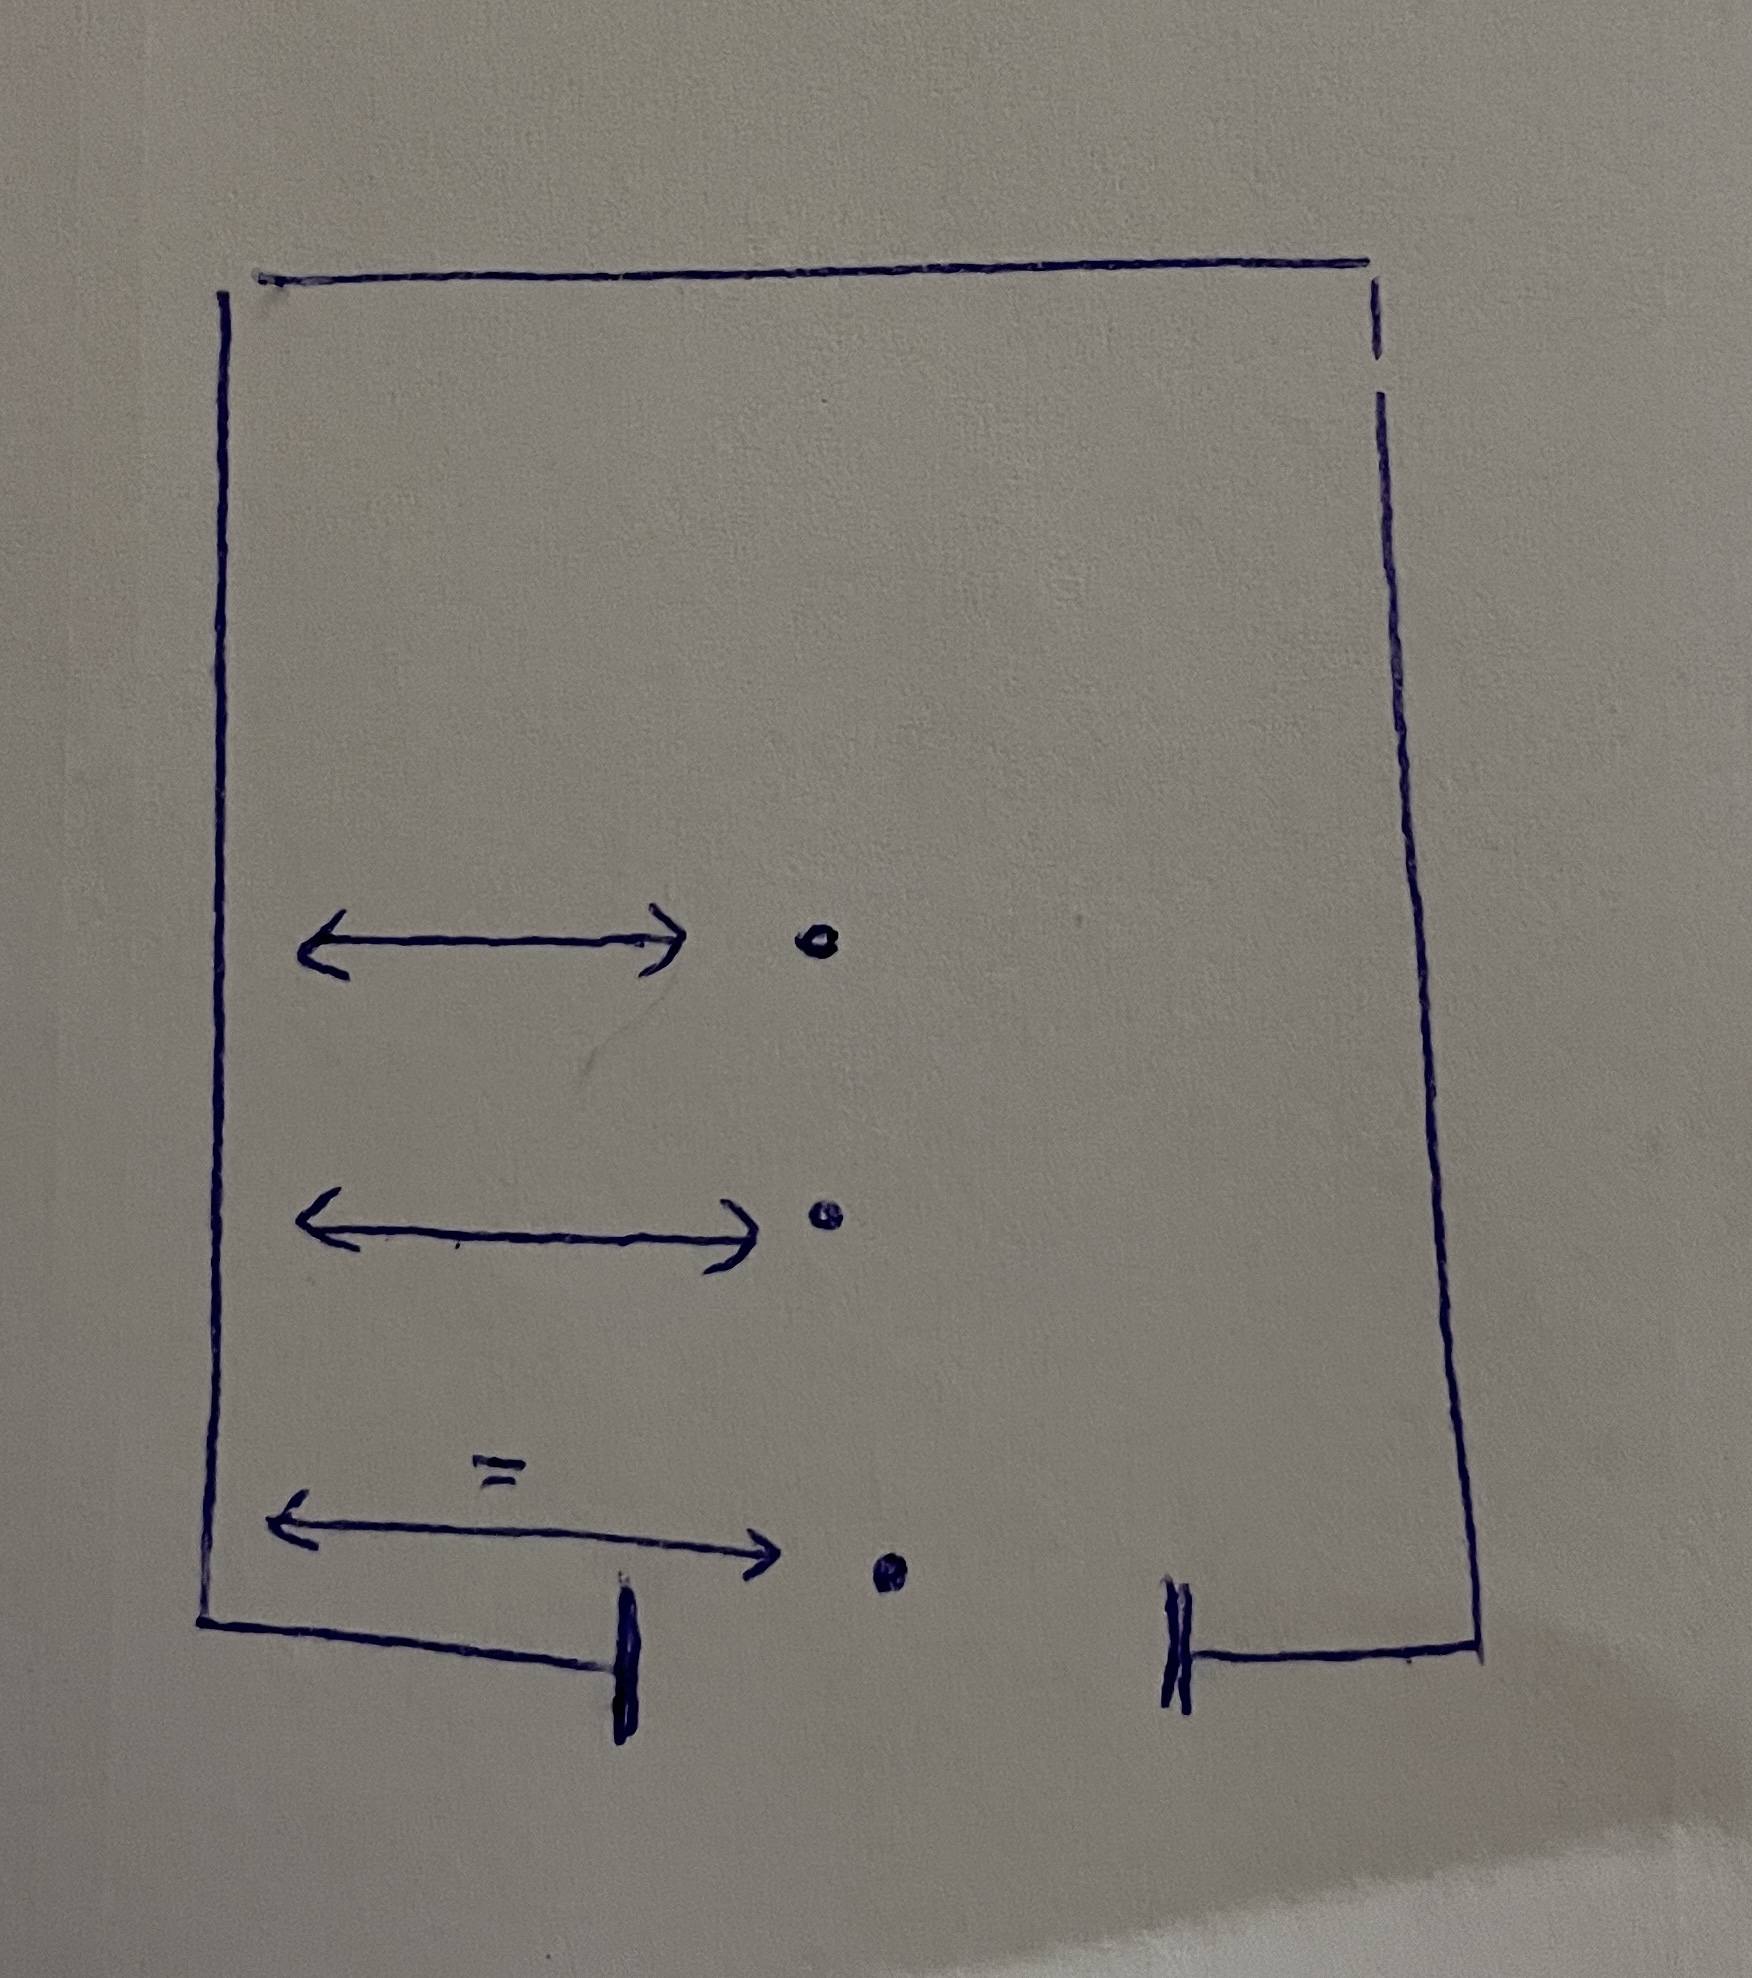
Once you have that spot, measure from the closest/straightest wall on either the left or right of the door to know how far from a straight edge it is to the middle mark in the floor. Then using that same measurement and the wall as a guide, move further into the room marking a dot as you go. I drew a guide to the right to hopefully help you better understand but this step is to give you a straight line from the middle of the doorway into the room without having to guess if it is straight.
While guessing seems like the easiest option, being off by even a little will show up more obviously as the pattern continues.
B) Connect the dots with a pencil to give you a guide line to follow
C) I wanted my tiles to be 12″ on each side for that super traditional look. When I drew out the 12″x12″ square, I realized that a box that size ends up being 17″ across.
So, to map out the floor, all that I needed to do was mark the straight line in the middle every 17 inches to give me my “points” for the first row.
From there, I measured 8.5 inches out from the door wall (half of 17″ and therefore half of a “tile”) to get a straight line (or at least parallel to the room) and continued by measuring 17″ from that line up into the room.
To ensure things remained straight, I ensured 12″ between the dots in each row as I went.
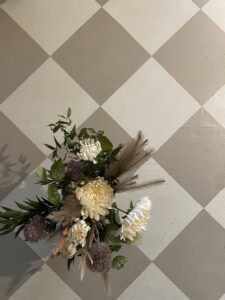
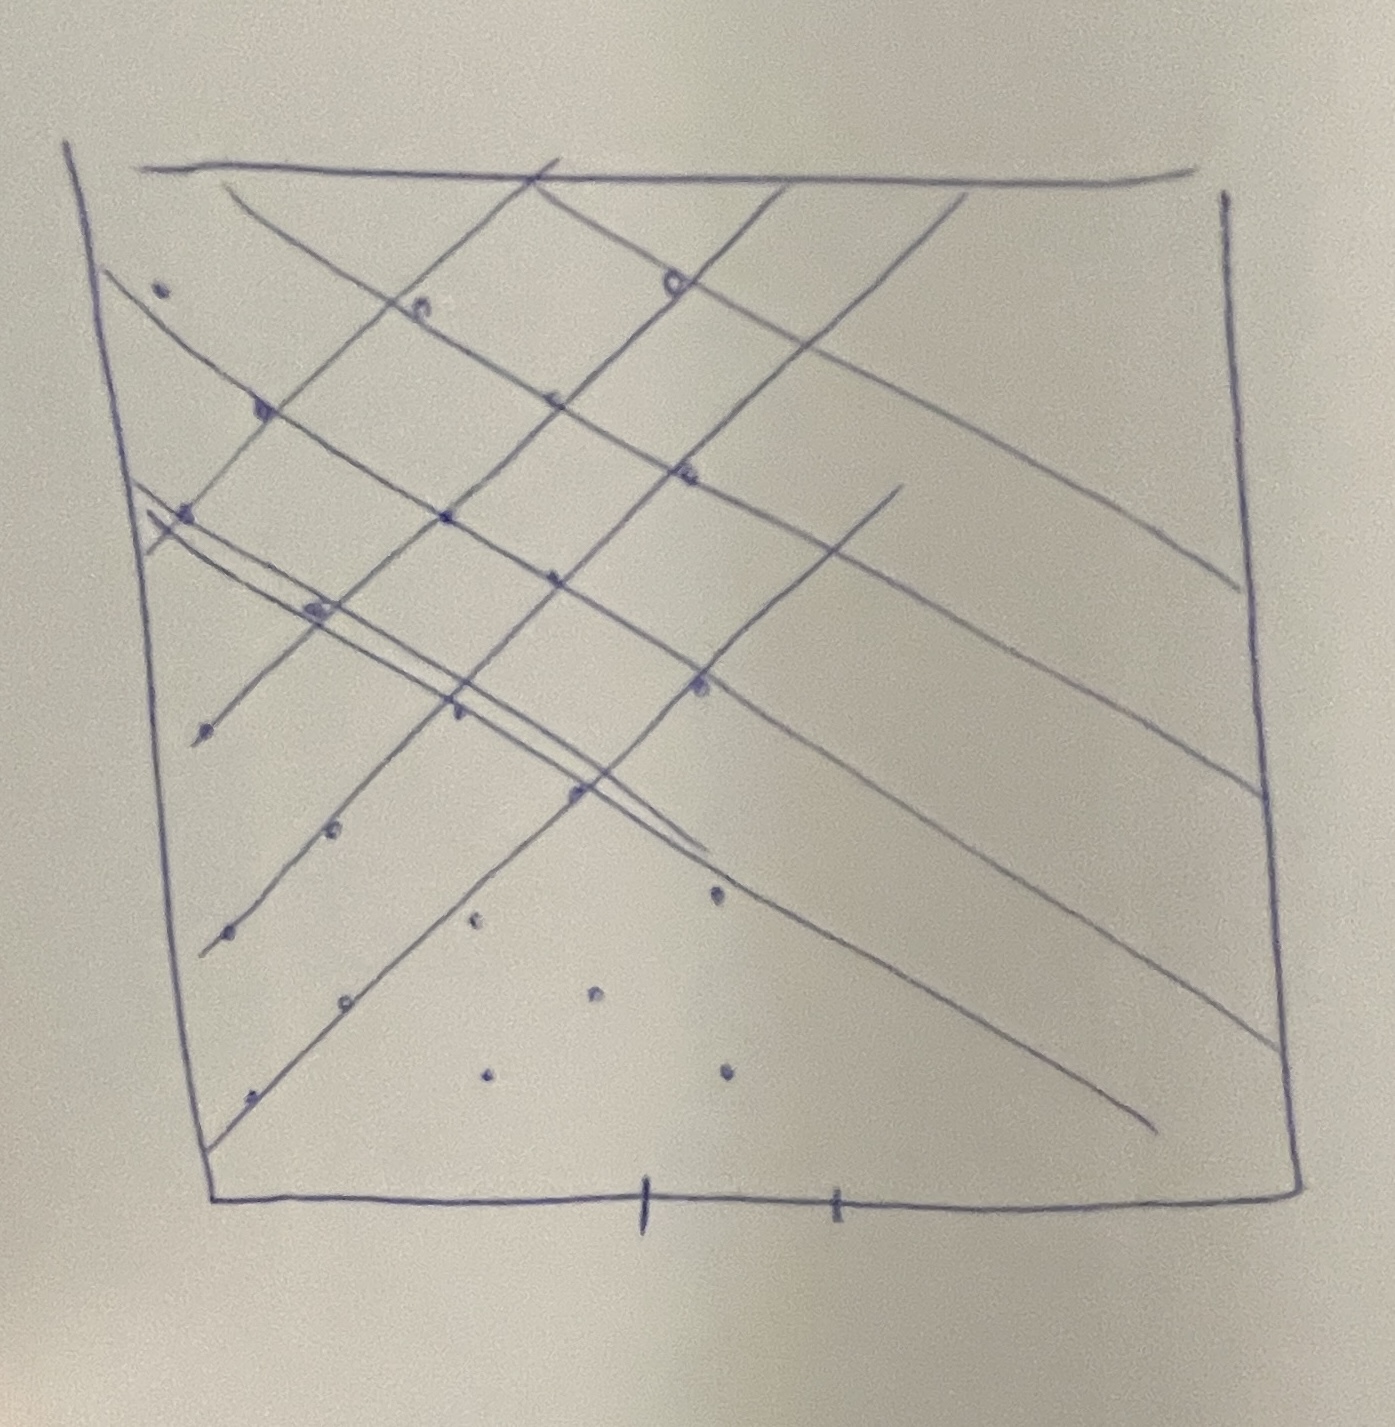
If you ignore the fact that nothing is straight in the quick sketch to the above, you will see that by using the dot system, eventually you can simply extend the lines to the other side of the room.
The method was definitely time consuming at first but once I had a few rows down, I was able to extend the pattern and complete the draw in under 2 hours. (It’s a good sized room and good things take time!)
Step Four – Paint the Pattern
If you want to take the time to tape it out by all means go for it! I love freehand because it brings me back to the days where I actually had the time and energy to paint on canvas so the entire process was incredibly relaxing.
I did two coats and ended up doing a few touch ups to clean things up a bit as a final hurrah.
And at that point you are officially a magic maker! Take a step back and enjoy/oggle your work!
I am so so pleased with how this floor turned out and so so excited to be doing this as part of the One Room Challenge
Seeing all of the design plans of the other challengers and watching the projects take shape is amazing (Check them out for yourself here: ORC 2023
Working from home gets lonely from time to time so it has been fun connecting with other designers and DIY enthusiasts throughout the last week.
Posting about and completing this DIY project does not at all mean I will be offering DIY services. I am simply stretching my creative muscles and getting this dang office done so that I can better support my clients – and if you need some inspiration, I hope you can find it here!
Angela


I’m following your project. It looks great so far. I’m in the challenge too. I hope you’ll follow my progress too.